
How to clean blinds quickly and easily usually comes down to two things: choosing the right method for your blind type, and using the right tool so you’re not wiping the same slat five times.
If you’ve ever started with good intentions and ended up with dusty hands, streaky slats, and a sore shoulder, you’re not alone. Blinds collect a mix of dry dust, airborne grease (especially near kitchens), pet dander, and sometimes smoke residue, and each one behaves differently when you add water.
This guide keeps it practical: a fast weekly routine, a deeper clean when things look grimy, and a simple way to avoid bending slats or making stains worse. You’ll also get a quick decision table, a checklist, and a few honest “don’t do this” moments that save time.
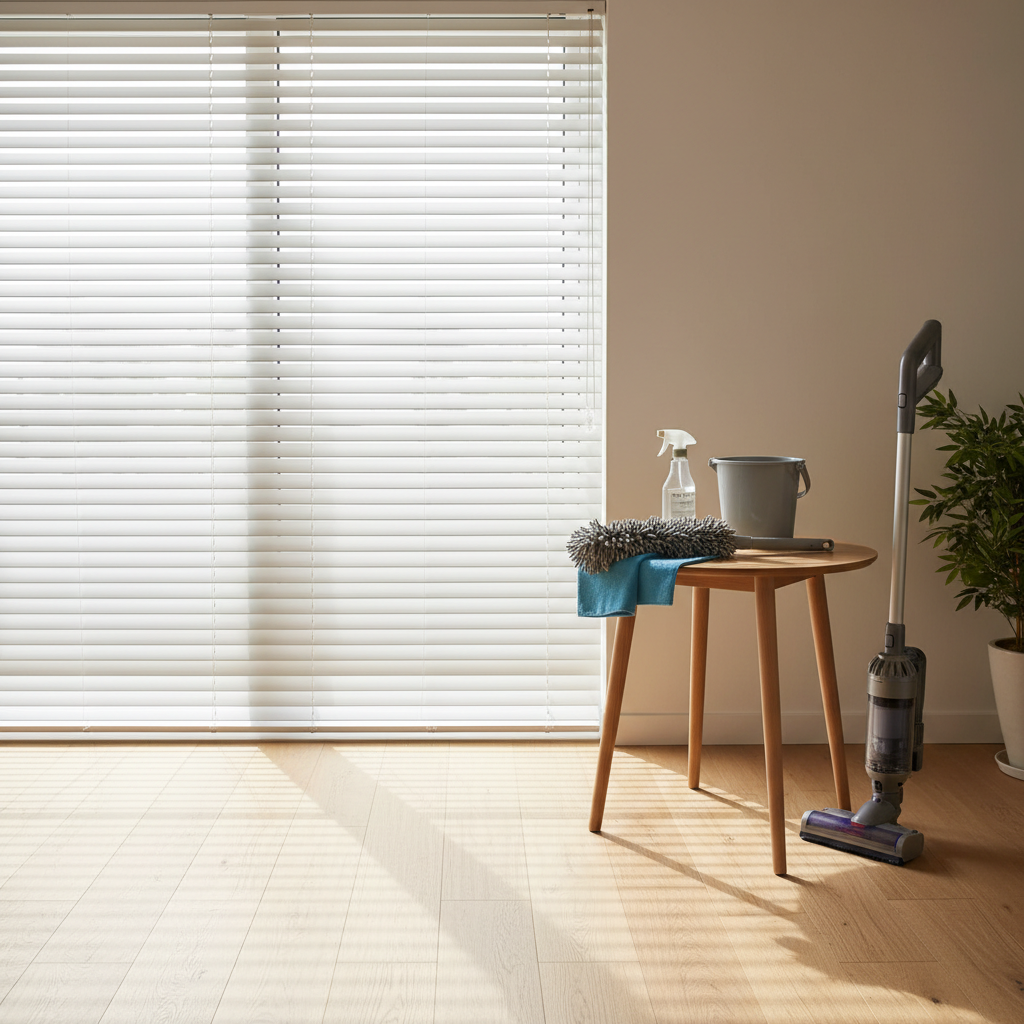
Pick the right approach: dry dusting vs. wet cleaning
The fastest mistake is going straight to soap and water. If the blinds only have loose dust, wet cleaning turns it into gray paste and doubles your work. If the blinds have sticky grime, dry dusting just spreads it around.
- Dry dusting: best for routine upkeep and light dust, usually 5–10 minutes per window.
- Damp wiping: better for fingerprints, kitchen film, and dull-looking slats.
- Deep clean: for heavy grime, smokers’ residue, or long-neglected blinds.
According to CDC, reducing dust buildup can support healthier indoor air, especially for people sensitive to allergens. You don’t need perfection, but consistent light cleaning tends to beat occasional marathon scrubbing.
Quick clean in 10 minutes (the method most people stick with)
If you want how to clean blinds quickly and easily in a way you’ll actually repeat, this is the routine: dust first, then spot-wipe only where needed. It keeps the job small.
What you’ll grab
- Microfiber duster or microfiber cloth (microfiber holds dust instead of pushing it)
- Vacuum with brush attachment (optional, but fast)
- Step stool for tall windows
Step-by-step
- Close blinds so slats face you, then dust top to bottom.
- Flip direction (slats the other way), dust again. This is where most people save time, because it prevents missing the back edge.
- For heavier dust, run a vacuum brush lightly along slats while they’re closed to reduce fallout.
- Spot-check: if you see smudges, do quick damp spots rather than wiping every slat.
Small tip that matters: support the slat with your free hand when you wipe, especially on thin vinyl or aluminum, so you don’t crease it.
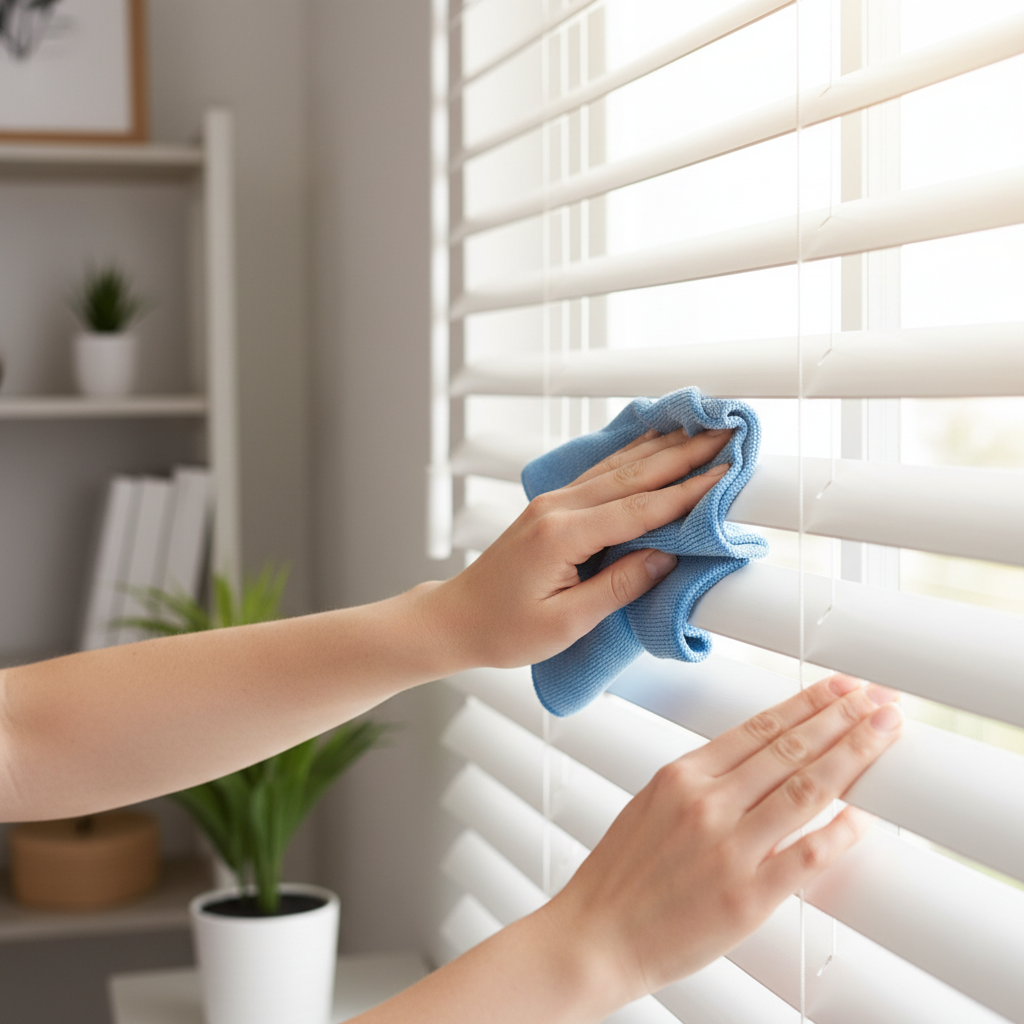
Blind-type cheat sheet (so you don’t damage anything)
Not all blinds tolerate moisture the same way. If you’ve ever seen warped faux wood or rust spots on metal, that’s usually a “wrong method for the material” issue.
| Blind type | Fastest safe method | What to avoid |
|---|---|---|
| Vinyl / PVC | Dry dusting, then damp microfiber with mild soap | Soaking cords, harsh abrasives |
| Aluminum / metal | Vacuum brush + microfiber, light damp wipe | Excess water near headrail (can lead to spotting/rust) |
| Faux wood | Dry dusting, barely damp cloth for smudges | Heavy water, steam cleaning (can swell/warp) |
| Real wood | Dry dusting, wood-safe cleaner used sparingly | Water-based soaking, ammonia, strong degreasers |
| Fabric / cellular shades | Vacuum with upholstery tool, spot clean if allowed | Over-wetting (can stain), aggressive scrubbing |
If you’re not sure what you have, check the label or manufacturer care instructions. Many warranties quietly assume you’ll follow those, especially for real wood and fabric shades.
Deep clean when blinds look greasy or streaky
When dust has mixed with cooking oils or aerosol products, your goal is to lift grime, not smear it. This is where people feel like blinds are “impossible,” but the fix is usually a better wipe strategy.
A simple, safe cleaning mix
- Warm water
- A few drops of mild dish soap
- Optional: a small splash of white vinegar for vinyl/metal (skip on real wood)
Deep-clean steps that stay efficient
- Dust first, always. Otherwise you make sludge.
- Dampen (don’t soak) a microfiber cloth, wring it until it feels almost dry.
- Wipe slats in sections, rinse cloth often. A dirty cloth just redistributes grime.
- Follow with a dry microfiber pass to prevent water spots, especially on metal.
For very greasy blinds, it can be faster to do two light passes than one aggressive scrub. Aggressive pressure bends slats and frays cords.
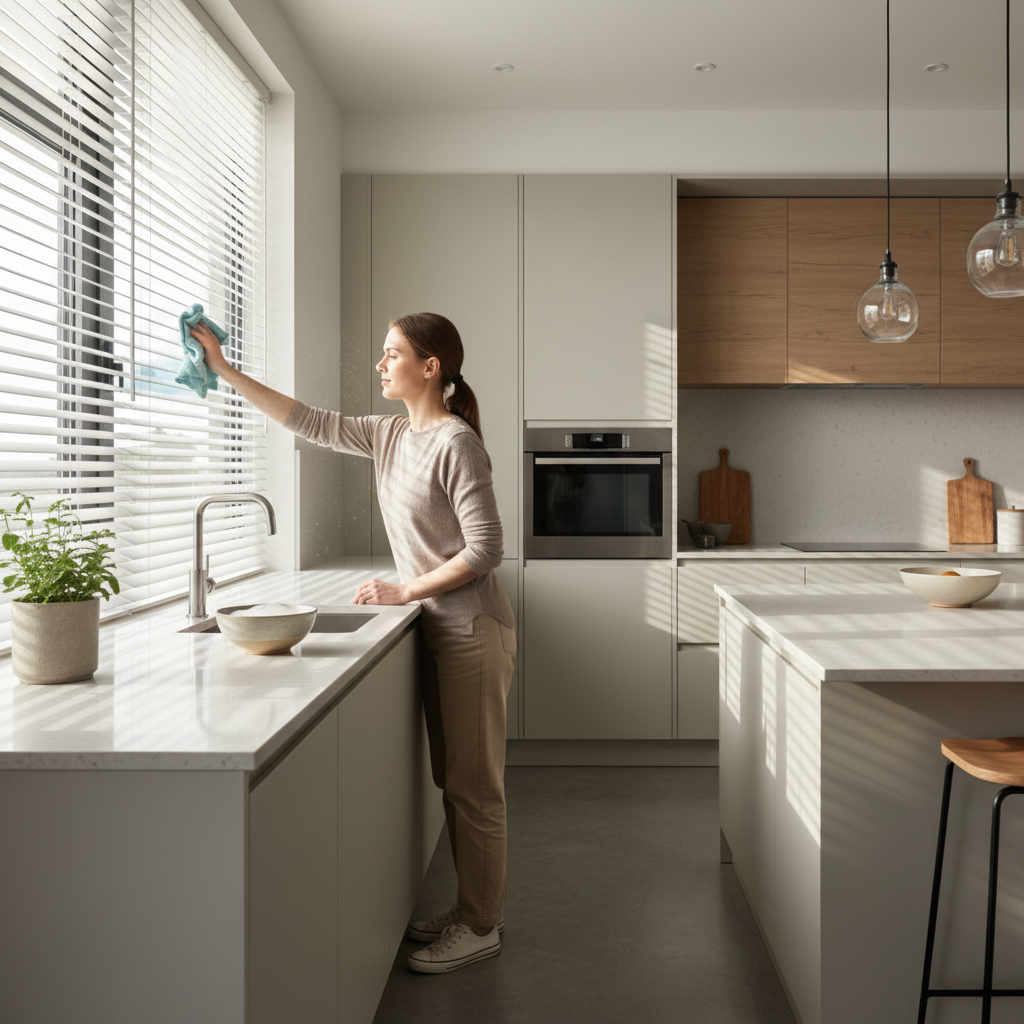
Self-check: what kind of dirty are your blinds?
This quick diagnosis keeps you from over-cleaning, which is where time goes to die.
- Powdery dust that lifts easily: dry dusting or vacuum brush, done.
- Gray streaks after dusting: you need a damp microfiber follow-up.
- Sticky feel near the kitchen: dish soap solution, rinse cloth frequently.
- Visible spots or droplets: finish with a dry cloth to avoid water marks.
- Musty smell, spotting on fabric shades: check manufacturer guidance, consider professional cleaning if staining spreads.
If you’re dealing with heavy mold growth or you suspect moisture damage around windows, it may be safer to consult a qualified professional, since cleaning alone won’t fix the underlying cause.
Time-saving tools and techniques (what’s worth it)
You can clean blinds with almost anything, but a couple of tools turn this into a quick habit. If your goal is how to clean blinds quickly and easily every week, tool choice matters more than the cleaning solution.
- Microfiber cloths: buy a small stack so you can swap when one gets dirty.
- Vacuum brush attachment: faster than chasing falling dust on the sill.
- Blind duster (two-sided): helpful on standard horizontal blinds, less useful on thick faux wood.
- Lint roller: surprisingly effective for pet hair on fabric shades and textured slats.
Technique that saves real minutes
- Place an old towel on the sill to catch dust, then shake it outside.
- Work top-to-bottom, and clean the headrail area lightly, it holds a lot of dust.
- Set a timer for 8 minutes. When time’s up, stop. Consistency beats “perfect.”
Mistakes that make the job harder (and how to avoid them)
Most frustration comes from a few repeat issues, not from the blinds themselves.
- Using too much water: causes drips, streaks, and can swell wood or warp faux wood.
- Skipping dusting: turns a quick wipe into muddy cleanup.
- Spraying cleaner directly on blinds: overspray hits walls, fabric, and cords; spray onto cloth instead.
- Pressing too hard: bends aluminum slats and can pop them out of alignment.
- Forgetting cords and wand: they collect oils from hands, a quick wipe makes the whole window look cleaner.
Also, be careful around ladders and stools. If you feel unstable, stop and reposition, rushing this part is where accidents happen.
Practical routine: keep blinds clean with less effort
Once you’ve reset them, the easiest maintenance is small and frequent. Many households do a light dust weekly or every other week, then a deeper clean seasonally, though it varies by pets, cooking habits, and nearby construction.
- Weekly: 5–10 minutes per main window, dry dusting only.
- Monthly: quick damp spot-wipe for fingerprints and edges.
- Seasonal: deeper clean for kitchen windows and high-traffic rooms.
If you’re trying to figure out how to clean blinds quickly and easily with the least friction, put microfiber cloths where you’ll use them, like under the sink or in a hallway closet, not in a hard-to-reach laundry room.
Key takeaways (so you can start now)
- Dust first, wet clean second, this one rule prevents 80% of the mess.
- Match method to material, especially for real wood and fabric shades.
- Damp microfiber beats dripping wet cleaning, faster and fewer streaks.
- Build a small routine, the goal is “good often,” not “perfect once.”
Pick one window today, do the 10-minute routine, then decide if you need a deeper clean on the kitchen or pet zones. That’s the quickest path to blinds that look consistently clean without turning it into a weekend project.