
How to clean window sills from dirt and mold comes down to two things most people miss: figuring out what you’re actually looking at (dust, mildew, true mold, old paint residue), and using the right method for the sill material so you don’t damage the finish while you clean.
If you’ve ever scrubbed a sill until your arms hurt only to see dark specks come back a week later, you’re not alone. Window sills collect condensation, pollen, cooking grease, and outdoor grime, and that mix can feed mildew in humid homes or in rooms with poor airflow.
This guide walks you through quick identification, a simple tool list, and practical, room-by-room steps. You’ll also get a prevention routine that takes minutes, because deep-cleaning the same sill every month is a motivation killer.
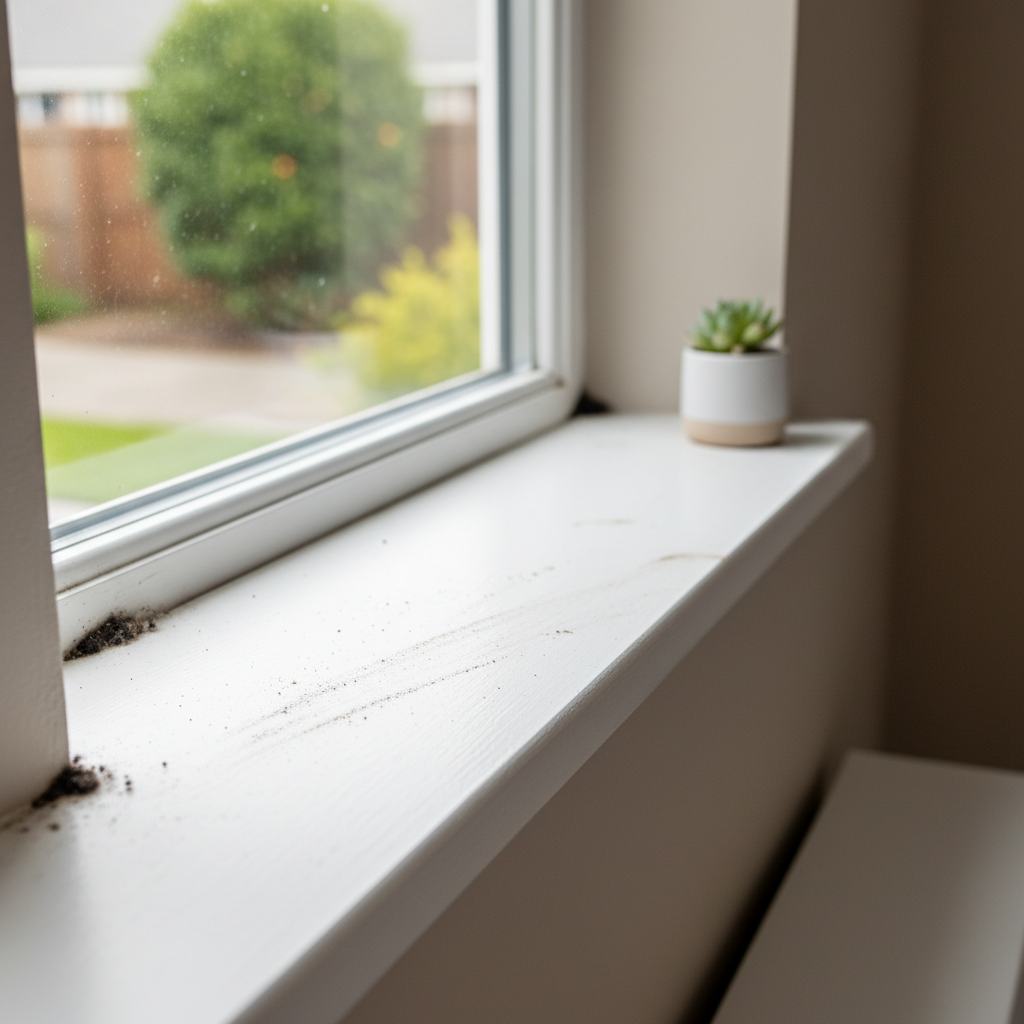
What’s really on your window sill (and why it keeps coming back)
Not every dark mark is mold, and treating everything like mold can waste time or create bigger messes. Here are the usual suspects and what they imply.
- Loose dirt and dust: Gray or tan film, easy to wipe, returns fast if windows stay cracked open or if you have nearby landscaping.
- Mildew: Often looks like scattered black dots or smudges on paint, tends to wipe off more easily than embedded stains.
- True mold growth: Can look fuzzy or textured, may smear, often tied to ongoing moisture or condensation.
- Water staining or tannin bleed: Brownish discoloration that doesn’t lift with typical cleaners, common on wood.
- Old paint and caulk residue: Collects grime, feels rough, “holds onto” dirt even after cleaning.
Why it returns: most cases are moisture plus food sources. Condensation on cold glass drips onto sills, dust provides organic material, and poor airflow keeps surfaces damp long enough for growth to restart.
According to the U.S. Environmental Protection Agency (EPA)..., controlling moisture is the key step for preventing mold. Cleaning helps, but moisture control keeps you from repeating the same job.
Before you start: a quick safety and materials check
If you’re sensitive to odors or you’re cleaning a bathroom window, don’t “power through” harsh fumes. Ventilation and gloves make the whole process easier and, in some situations, safer.
- Ventilate: Open the window if weather allows, run the bathroom fan, or set a small fan to move air across the sill.
- Protect: Gloves are a good idea. If you suspect heavy mold, a mask can help reduce irritation. If you have asthma or immune concerns, consider asking a professional for guidance.
- Know the surface: Painted wood, raw wood, vinyl, and stone each react differently to water and cleaners.
Basic supplies most homes already have: a vacuum with a crevice tool, microfiber cloths, a soft brush or old toothbrush, dish soap, white vinegar, baking soda, and paper towels. A spray bottle helps a lot.
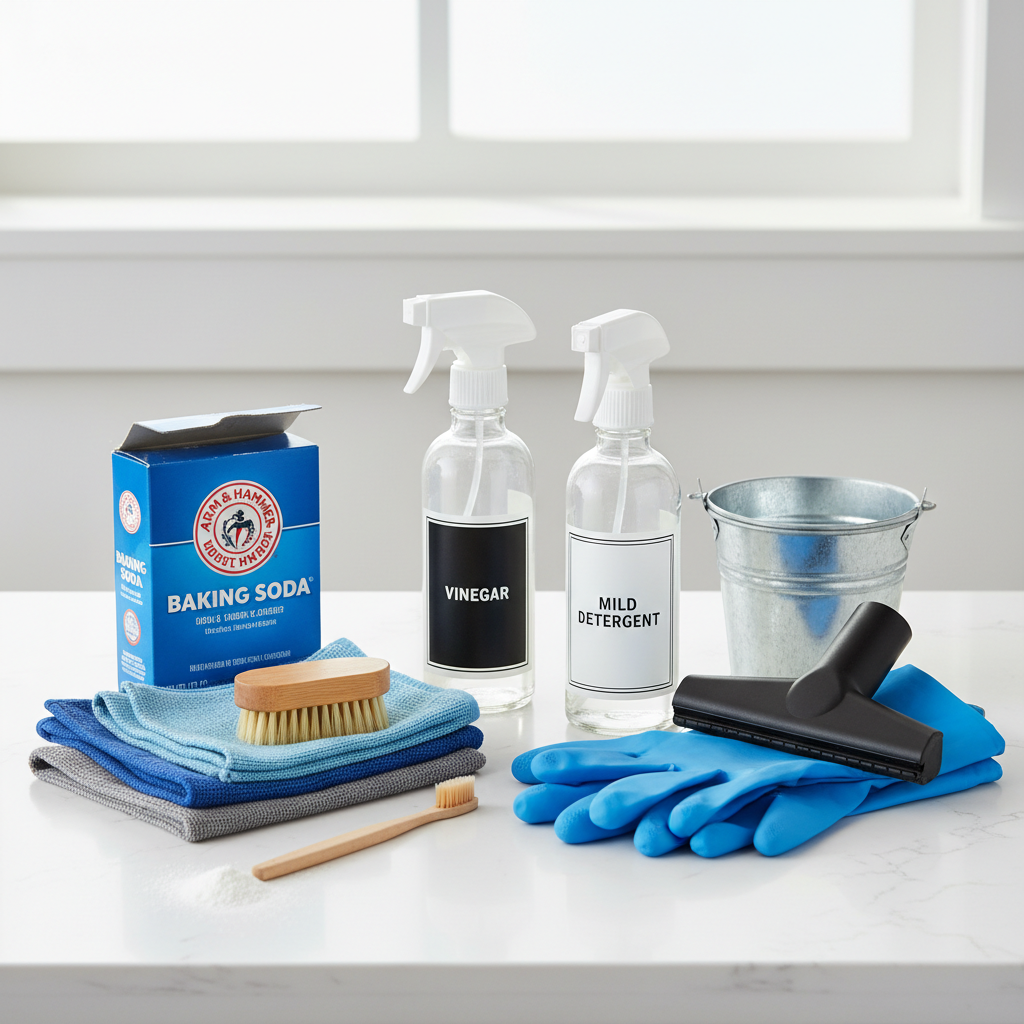
Self-check: which cleaning route fits your situation?
Use this quick checklist to pick a method that matches what you see. It’s faster than guessing, and it reduces the chance you’ll damage paint or caulk.
- Mostly dust and grit: Vacuum + soap-and-water wipe usually fixes it.
- Small specks that wipe off: Vinegar solution or mild cleaner, plus dry-out steps.
- Staining that won’t lift: You may be dealing with water stains, tannins, or embedded mold in porous material.
- Paint bubbling, soft wood, cracked caulk: Cleaning alone won’t last; moisture is getting behind the surface.
- Strong musty odor or repeated regrowth: Treat it as a moisture/ventilation problem, not just a cleaning problem.
Step-by-step: how to clean window sills from dirt and mold
Here’s a practical routine that works for many homes. Adjust based on material and severity, and always test any cleaner on a small hidden area first.
1) Dry-remove debris first (skip this and you make mud)
Vacuum the sill, tracks, and corners with a crevice tool. Use a soft brush to loosen caked dust. This matters because wet wiping on gritty sills can scratch paint and smear grime into corners.
2) Wash with mild soap to remove the “food” layer
Mix warm water with a few drops of dish soap. Wipe the sill thoroughly, then rinse with a clean damp cloth. Dry with a towel so moisture doesn’t sit in seams.
3) Treat suspected mildew or mold growth (choose one approach)
- Vinegar method (common for non-porous sills): Spray straight white vinegar or a 1:1 vinegar-water mix, let it sit about 10–15 minutes, scrub lightly, wipe clean, then dry.
- Baking soda paste (good for small spots and light staining): Mix baking soda with a little water, apply to spots, gently scrub, wipe, then dry.
- Commercial mold cleaner: Follow the label exactly, especially dwell time and ventilation guidance. Don’t mix products.
According to the CDC..., mold cleanup often focuses on removing mold and fixing moisture problems, and they emphasize not mixing cleaning chemicals, especially products that can create irritating gases.
4) Detail the corners and seams
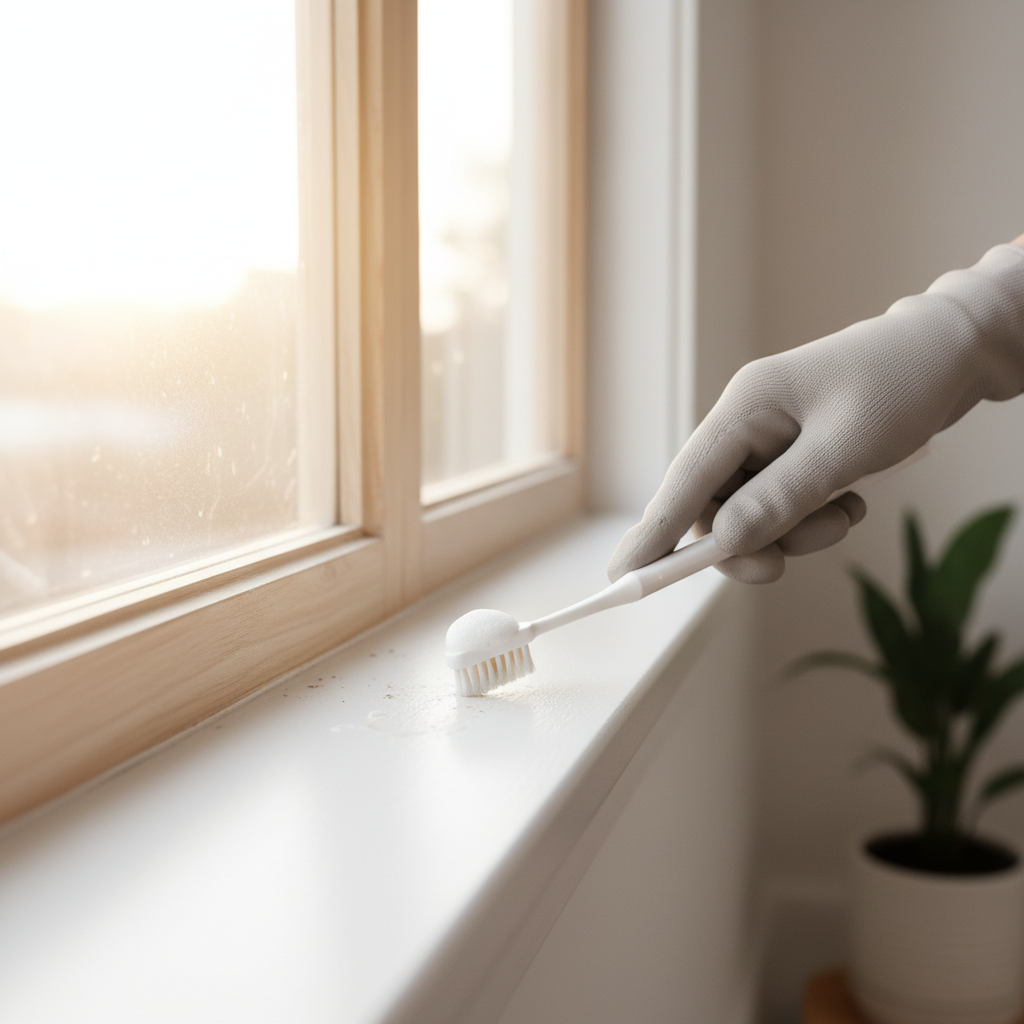
Use an old toothbrush for inside corners, where gunk and spores tend to sit. If the caulk line is rough, be gentle; aggressive scrubbing can tear it and create new gaps where moisture collects.
5) Dry fully and reduce condensation
This is the “boring” step that makes the difference. Wipe dry, then let the area air out. If condensation is common, consider running a fan, cracking the window briefly, or using a dehumidifier in that room.
A simple table: cleaner choices by window sill material
If you’re unsure what to use, this quick reference can keep you from turning a cleaning job into a refinishing job.
| Material | What usually works | Use extra caution with |
|---|---|---|
| Vinyl / PVC | Dish soap, vinegar solution, soft brush | Abrasive pads, strong solvents that can dull finish |
| Painted wood | Soap and water, gentle spot treatment | Soaking seams, harsh scrubbing that lifts paint |
| Unfinished wood | Minimal water, targeted cleaning, quick drying | Heavy spraying; moisture can swell wood and deepen stains |
| Stone (marble, limestone) | pH-neutral cleaner, mild soap | Vinegar or acidic cleaners that can etch stone |
| Aluminum | Mild soap, non-abrasive sponge | Steel wool and aggressive abrasives |
Prevention that actually sticks (so you clean less often)
Most people focus on the cleaner and ignore the reason the sill stays damp. If you want fewer repeat scrubs, aim at condensation and airflow.
- Wipe condensation when it shows up: A quick morning wipe during cold months can cut regrowth a lot in many homes.
- Run fans longer: Bathrooms and kitchens need exhaust after showers or cooking, not only during.
- Watch curtains and blinds: If they trap moist air against glass, crack them open to let the sill dry.
- Seal gaps: Cracked caulk invites moisture to sit in seams. Re-caulking often makes cleaning easier and helps prevent staining.
- Keep the track clean: Dirt in tracks holds water like a sponge, then the sill “mysteriously” gets dirty again.
Common mistakes that waste time (or make mold worse)
- Skipping the dry vacuum step: You end up spreading grime into corners and seams.
- Over-wetting wood: Too much liquid can swell wood fibers and deepen discoloration.
- Using vinegar on sensitive stone: Acid can etch marble and limestone, leaving a dull patch that looks like a stain.
- Mixing chemicals: This can create irritating fumes. Stick to one product at a time and rinse between steps.
- Cleaning without fixing moisture: If the window sweats daily, the spots often return, even after a “perfect” scrub.
When it’s time to call in a pro
Small, surface-level spots are often manageable with careful cleaning, but some situations deserve backup.
- Recurring growth in multiple rooms or a persistent musty smell that doesn’t match what you see.
- Soft, crumbling drywall/wood around the window, which can suggest hidden moisture damage.
- Large affected areas or you feel unwell when cleaning, especially if you have asthma or allergies.
- Leaky windows or visible water intrusion after rain; a window installer or contractor can help identify the source.
According to the EPA..., some mold problems may require professional support, especially when moisture sources are ongoing or when contamination is extensive. If you’re unsure, a quick inspection can be a calmer choice than repeated DIY attempts.
Key takeaways
- How to clean window sills from dirt and mold works best when you dry-remove debris, wash, treat spots, then fully dry.
- Match the cleaner to the material, especially with wood and natural stone.
- If it keeps coming back, treat condensation and airflow as the main problem.
If you want a practical next step, do a 10-minute reset today: vacuum the corners, wash with mild soap, dry completely, then track condensation for a week. That small check usually tells you whether you need better ventilation, new caulk, or just a lighter weekly wipe.
FAQ
- What’s the fastest way to clean dirty window sills?
Vacuum first, then wipe with warm soapy water. Most “stuck-on” grime is a mix of dust and oils, and soap breaks that up quickly. - Does vinegar kill mold on window sills?
Vinegar is commonly used for small patches on non-porous surfaces, but results can vary by material and how deep growth is. If stains remain or it returns quickly, moisture control usually matters more than switching sprays. - How do I remove black mold from painted wood sills without ruining paint?
Use minimal liquid, gentle scrubbing, and dry immediately. If paint is already peeling or soft, cleaning may expose damage, that’s a repair issue, not just a cleaning issue. - Why does mold keep coming back around my windows?
Condensation is the typical cause: warm indoor air meets cold glass, water forms, and dust feeds regrowth. Better airflow, longer fan run time, and wiping moisture early often help. - Can I use bleach on window sills?
Some people do, but it can irritate lungs and may discolor certain surfaces. If you choose a bleach-based product, follow the label, ventilate well, and never mix it with other cleaners. - How often should I clean window sills to prevent mildew?
In many homes, a light wipe every 1–2 weeks during humid seasons plus a deeper monthly clean works. If you see frequent condensation, quick daily drying can reduce buildup more than heavy scrubbing.
If you’re dealing with recurring spots and you’d rather not trial-and-error cleaners, it can help to use a simple routine kit: a soft detail brush, microfiber cloths, and a surface-safe spray you already tolerate, plus a plan to dry the sill and improve airflow after showers or cooking.