
How to organize makeup collection starts with one decision: you’re not aiming for a “perfect” vanity, you’re building a setup you can keep up with on a busy weeknight.
If your makeup ends up in three different bags, drawers, and random countertop piles, the problem usually isn’t storage, it’s that your products don’t have clear “homes” and your categories don’t match how you actually get ready.
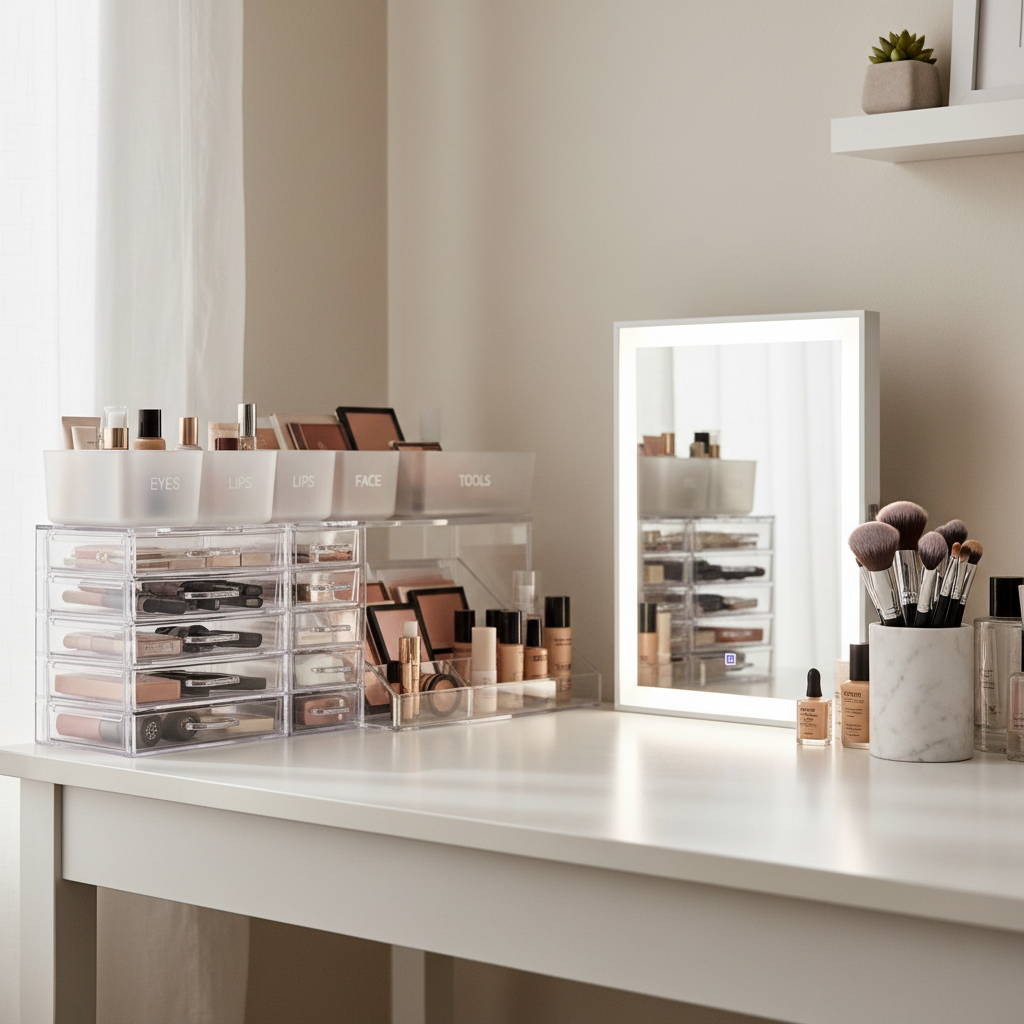
This guide keeps it practical: why collections get messy, how to sort fast without overthinking, and a realistic system for small bathrooms, shared spaces, or full vanities. You’ll also get a quick table for matching organizers to product types and a short checklist for maintenance.
Why makeup collections get messy (and why storage alone doesn’t fix it)
Most clutter comes from a few predictable patterns, not from “having too much.” Once you spot which one applies, the fix gets simpler.
- Too many categories: You separate items by brand, season, finish, and mood, then nothing goes back where it belongs.
- Wrong categories: You store by product type, but you get ready by steps, or vice versa, so you constantly open five places.
- No limits per zone: A drawer becomes “miscellaneous,” then it becomes a black hole.
- Duplicates and near-duplicates: Two mascaras, four nude lip liners, three almost-identical peach blushes, and suddenly you can’t see what you own.
- Inconsistent sizing: Palettes, minis, compacts, and tubes don’t stack well, so they sprawl.
According to the U.S. Food & Drug Administration (FDA), cosmetics can become contaminated if they’re not handled and stored properly, so organization is also about keeping products clean and separated from dust, moisture, and “mystery gunk.”
Quick self-check: what kind of organizer do you actually need?
Before you buy bins, take two minutes and answer these. Your answers point to the right system.
- Where do you apply makeup most days? Bathroom sink, bedroom vanity, car, office, travel bag
- What’s your biggest friction point? Losing small items, digging for one product, products tipping over, countertop clutter
- Do you own more palettes or more single items? Palettes need vertical or file-style storage, singles do well in shallow dividers
- Do you share the space? If yes, you need clearer boundaries and faster “reset” containers
- How often do you rotate products? If you rotate seasonally, build a “current capsule” zone plus backup storage
One more gut-check: if you dread putting makeup away, your system is too complicated or too far from where you use it. Convenience beats aesthetics almost every time.
Step-by-step: how to organize makeup collection without making it a weekend project
You can do this in about an hour for a typical collection, longer if you have a lot of backups. The key is staying decisive and creating limits.
1) Pull everything into one “inventory pile”
Countertop, drawer, purse, travel pouch, gym bag, that one mascara in the coat pocket, bring it all together. If you don’t see it, you can’t organize it.
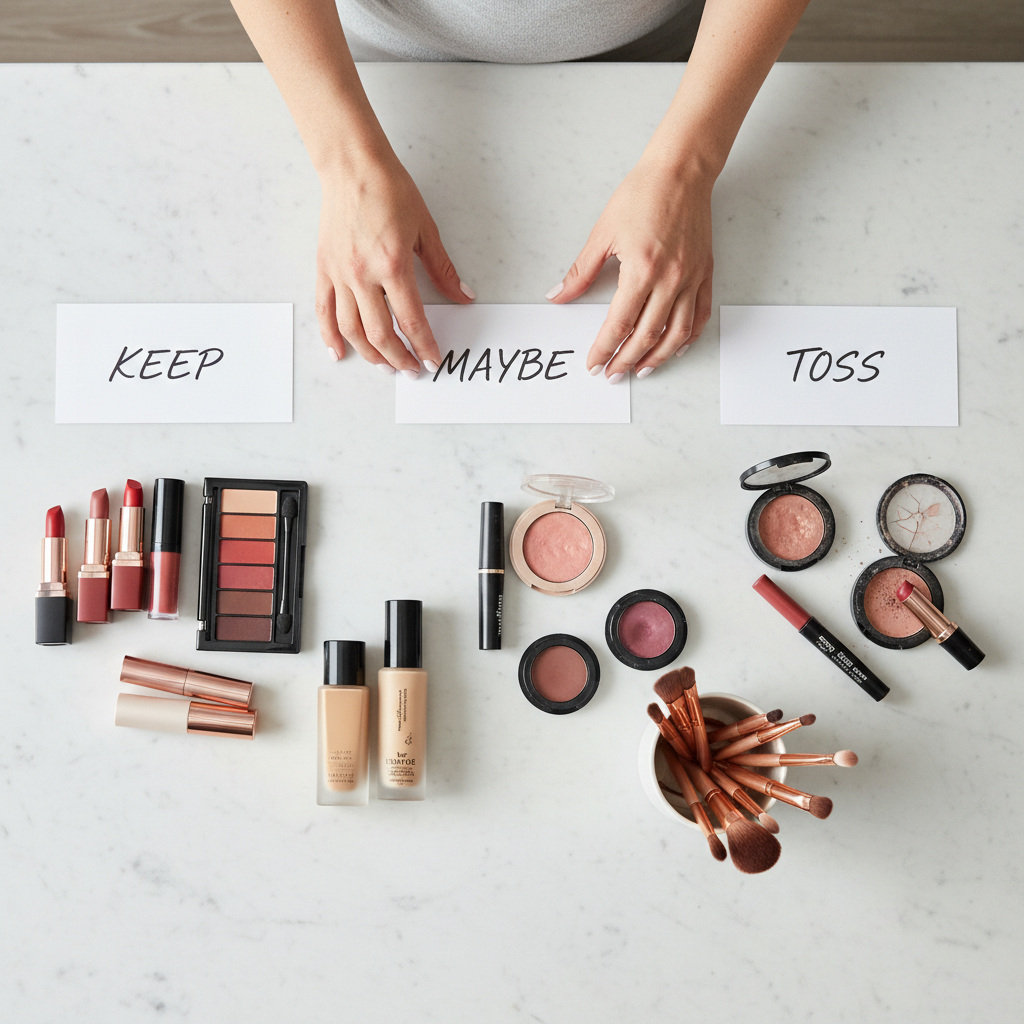
2) Do a fast edit (keep, maybe, toss)
This isn’t about being ruthless, it’s about removing obvious friction.
- Toss: broken packaging, products that smell off, anything that irritates your skin, dried-out liquids
- Maybe: “special occasion only” items, shades you love but never reach for
- Keep: daily staples, reliable backups, products you truly use
If you’re unsure about product safety or expiration, checking brand guidance can help, and if you’ve had reactions, it’s sensible to consult a dermatologist.
3) Choose your “home base” categories (keep it to 5–7)
This is where most people overcomplicate. Pick categories that match how you get ready.
- Base: primer, foundation, concealer, powder
- Cheeks: blush, bronzer, highlighter
- Eyes: palettes, liners, mascaras, brow items
- Lips: liners, balms, lipsticks, glosses
- Tools: brushes, sponges, sharpeners, tweezers
- Skincare/prep (optional): setting spray, lip mask, eye patches
- Backups & minis (optional): duplicates, travel sizes
If you do makeup in a strict routine, you can also categorize by steps: prep, base, eyes, cheeks, lips, finish. Either approach works, but mixing both usually creates chaos.
Vanity setup options: small bathroom vs. full glam station
There isn’t one “right” layout, but there are a few that tend to hold up in real life.
Option A: The 10-minute morning setup (small space)
Keep only your daily kit in one container that can move.
- One zip pouch for everyday makeup
- One brush cup (or a slim brush roll)
- One shallow drawer/bin for everything else, with dividers
This works well if you share a bathroom or don’t want products living on the counter. Your “reset” is simply putting the pouch away.
Option B: The tidy countertop (medium space)
Use vertical storage to stop the sprawl.
- Brush holder with separate slots for face vs. eye brushes
- Palette file organizer (like magazine-file style) for larger pans
- Daily tray for current favorites, with a hard limit on size
Option C: The drawer-based vanity (largest capacity)
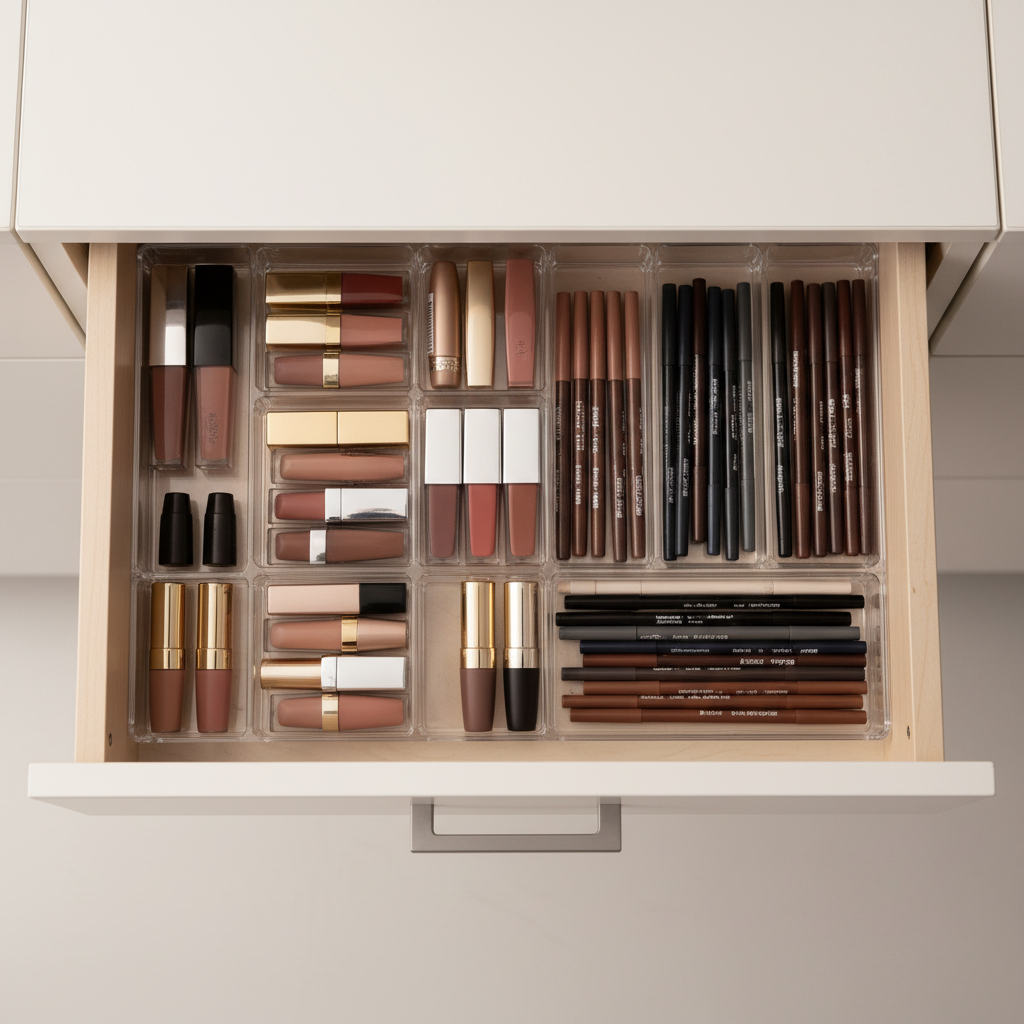
If you have drawers, treat them like a grid, not a junk box.
- Shallow dividers for lip products and pencils
- Acrylic bins for foundations and sprays (upright, labels facing forward)
- One “testing” section for new items so they don’t disappear
Organizer cheat sheet (use this table to shop your home first)
You can get far with what you already have: small boxes, drawer dividers, a mug for brushes. If you do buy organizers, match them to product shape.
| Product type | What usually works | Why it helps |
|---|---|---|
| Palettes | Vertical file organizer | Keeps titles visible, prevents stacking avalanches |
| Lipsticks & gloss | Shallow drawer dividers or lipstick grid | Stops rolling, makes color scanning easy |
| Foundations & sprays | Upright bin with handles | Prevents tipping, easy to pull out as a group |
| Brushes | Brush cup + washable liner | Quick reset, easier to clean around |
| Small tools | Tiny lidded box | Stops tweezers/sharpeners from vanishing |
Make it stick: a simple maintenance routine (so it stays organized)
Most systems fail because they demand too much “put-away perfection.” Keep maintenance light and repetitive.
- Weekly 2-minute reset: return stray items to their category, wipe the daily tray
- Monthly mini-audit: pull out the “maybe” items, decide keep or donate (if unopened) or discard
- Seasonal refresh: rotate shades, move off-season items to a backup bin
If you’re learning how to organize makeup collection in a shared space, labels can reduce arguments faster than any fancy container. Label the category, not the brand.
Common mistakes that waste time (even with cute organizers)
- Storing by brand instead of use: looks nice, feels annoying every morning
- Over-stacking palettes: you forget what you own, and pans break more easily
- Too many “backups” in the prime zone: backups belong in a separate bin, not in daily reach
- Ignoring cleaning basics: dirty brushes and sponges can irritate skin; brand or professional guidance may vary, so follow reputable instructions
- Buying organizers before editing: you end up organizing clutter, not solving the problem
According to the American Academy of Dermatology Association, keeping makeup tools clean can help reduce skin irritation and breakouts, especially if you’re acne-prone.
Key takeaways (save this before you start)
- Pick 5–7 categories that match how you actually apply makeup.
- Create a daily zone with strict limits, everything else goes to backup storage.
- Use vertical storage for palettes and shallow dividers for small items.
- Maintenance beats perfection, a 2-minute weekly reset keeps the system alive.
Conclusion: your vanity should make mornings easier
Once you decide what “daily” means for you and give every category a clear home, organizing stops feeling like a makeover project and starts feeling like basic upkeep. If you’re not sure where to begin, do the fastest win: build a small daily kit and set a hard boundary for backups, then adjust from there.
If you want a clean next step today, set a 20-minute timer, pull everything into one pile, and sort into your 5–7 categories, you’ll feel the difference immediately when you get ready tomorrow.
FAQ
How do I organize makeup collection if I have a tiny bathroom counter?
Go portable: keep daily makeup in one pouch and tools in a slim holder, then store everything else in a single divided bin under the sink or in a drawer. Less surface area usually means fewer categories.
Should I store makeup in the bathroom or bedroom?
Many bathrooms have humidity swings, which can be tough on some products. If you notice labels peeling, powders hardening, or things getting damp, a bedroom vanity or a closed drawer outside the bathroom often works better.
What’s the best way to organize palettes so they don’t break?
Store palettes vertically like files, not stacked. It reduces pressure on pans and makes it easier to see what you have, which also cuts down on duplicate purchases.
How do I declutter without regretting it?
Use a “maybe” box for 30 days. If you don’t reach for those items in normal life, they probably don’t belong in your prime space, even if you still keep them as occasional options.
How do I organize makeup brushes and keep them cleaner?
Separate face and eye brushes, and avoid tossing them loose in a drawer where they pick up dust. Cleaning frequency varies by use and skin sensitivity, so follow product guidance, and if you deal with irritation, consider asking a dermatologist.
How can I organize makeup collection for travel and still keep my vanity tidy?
Create a dedicated travel pouch that lives inside your “backups & minis” zone. After a trip, refill and return that pouch to its home so travel items don’t linger on the counter.
What if I keep buying organizers but my vanity still looks messy?
That usually means the categories don’t match your routine, or you don’t have clear limits for each zone. Shrink the daily area, move duplicates to a backup bin, and simplify labels.
If you’re organizing a growing collection and you’d rather not experiment with five different setups, a simple “daily capsule + backups bin” system is often the easiest to maintain, and once that feels stable, adding nicer organizers becomes a fun upgrade instead of a desperate fix.