
How to clean baseboards without bending down comes down to two things: using the right long-handled tool, and doing a quick prep so you’re not just smearing dust around.
If you’ve ever “cleaned” baseboards and still noticed a gray line afterward, you already know the frustration, it’s low to the ground, it catches pet hair, and it makes an otherwise clean room feel unfinished.
This guide walks through a few no-kneel methods that work in real homes, plus a quick checklist to pick the safest cleaner for your paint finish, and a simple routine you can repeat without turning it into a weekend project.
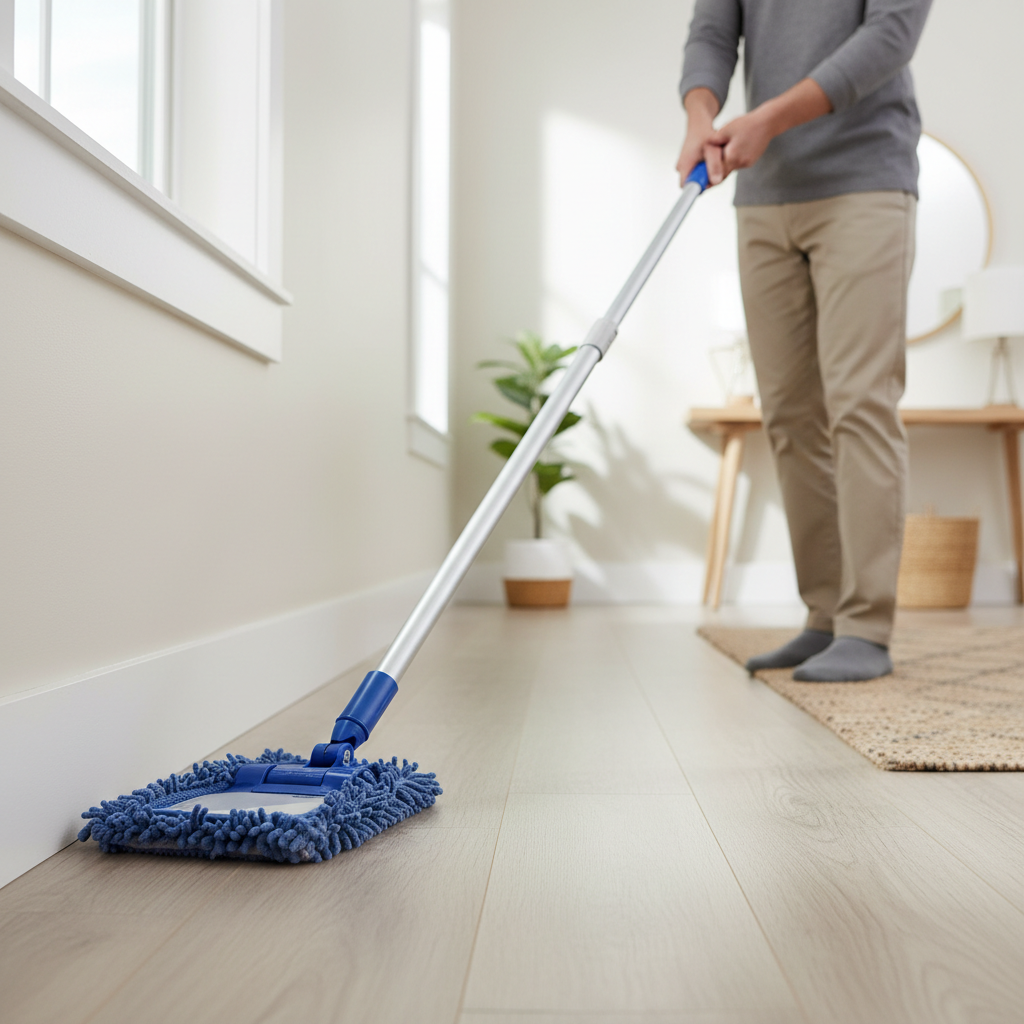
Why baseboards get dirty (and why bending down feels unavoidable)
Baseboards sit at the perfect height to collect everything that drifts down: dust, lint, cooking residue, and whatever your HVAC moves around. If you have pets, add hair and dander that clings to static-prone paint.
Many people end up bending down because most “cleaning motions” need pressure and control. The trick is getting that same contact with a tool that stays flat to the trim, so you can guide it from a standing position.
Another reason it feels harder than it should: baseboards often have texture, grooves, or beveled edges. A fluffy duster might look productive, but it tends to skip the edges and push dust into corners.
A quick self-check: which kind of baseboard cleaning do you actually need?
Before you grab a mop and go, take 30 seconds to decide whether you’re dealing with dry dust, greasy film, or scuffs. That decision changes the tool and the cleaner.
- Dry dust only: looks gray and powdery, wipes off easily with a dry microfiber.
- Sticky grime: feels tacky, common near kitchens, entryways, kids’ rooms, and around vents.
- Scuffs: dark marks from shoes, vacuums, toys, or furniture.
- Paint sensitivity: older paint or flat/matte finishes may dull if you scrub hard or use harsh degreasers.
When in doubt, test any cleaner on a hidden section first, behind a door or under a radiator cover, and use light pressure.
Tools that let you clean baseboards while standing
You can spend a lot or almost nothing here, what matters is a tool head that stays flat and a cover that picks up dust instead of redistributing it.
1) Flat microfiber mop (the “default” standing method)
A flat mop with a washable microfiber pad is usually the easiest way to clean long runs of trim without bending. You can use it dry for dusting, then slightly damp for stuck-on film.
- Best for: routine maintenance, larger homes, hallways
- Watch for: overly wet pads that drip down onto flooring or into gaps
2) Long-handled duster with a bendable head (good for ornate trim)
If your baseboards have deeper profiles, a bendable head can follow the shape better than a flat mop, especially around door casings.
- Best for: grooves, decorative molding
- Watch for: dusters that “fluff” dust into the air rather than trapping it
3) Soft-brush vacuum attachment (fastest for pet hair)
Vacuuming first keeps you from turning hair into little wet clumps. A soft brush attachment helps prevent scraping paint.
- Best for: pet hair, heavy dust, allergies
- Watch for: hard plastic edges bumping and scuffing trim
Key point: if you want how to clean baseboards without bending down to feel genuinely easy, pair vacuuming (dry removal) with microfiber (pickup) rather than going straight to wet cleaning.
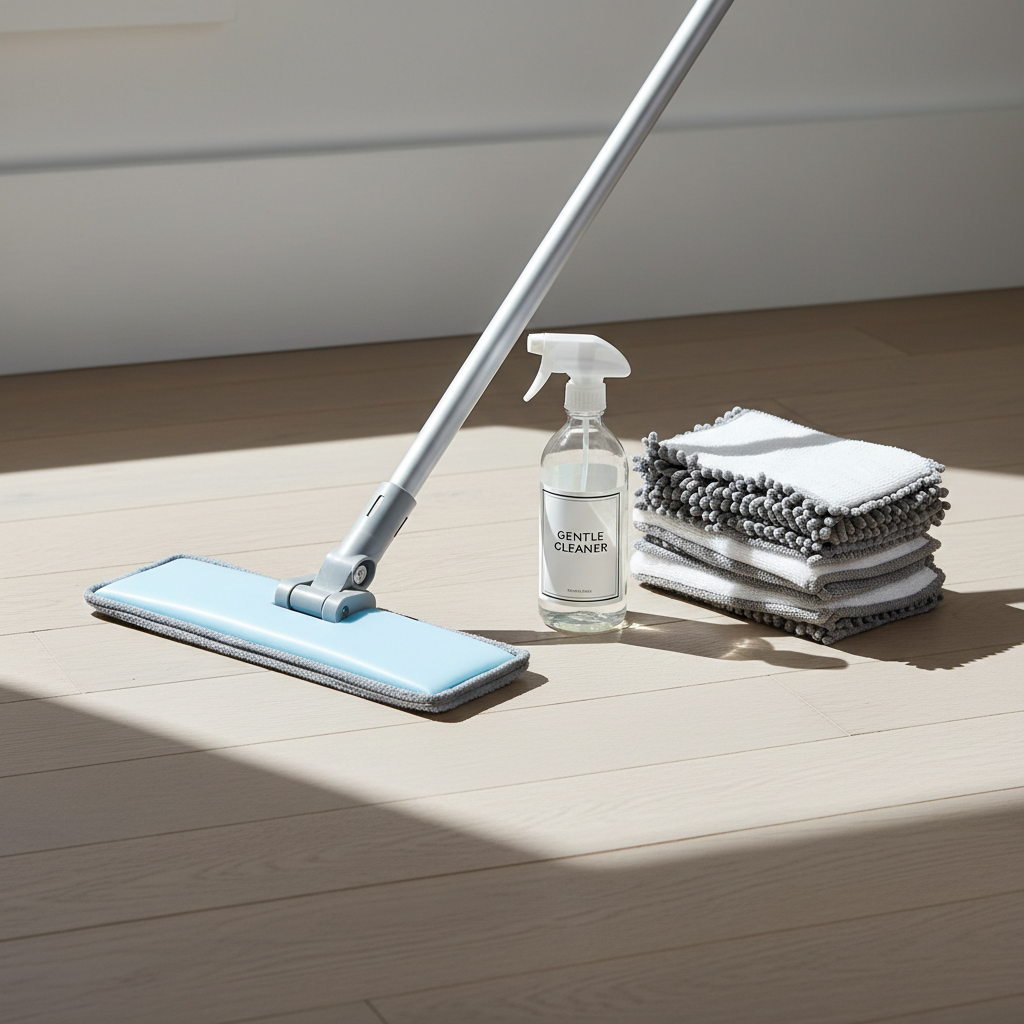
The no-bend routine: step-by-step (dry, then damp, then spot-fix)
This is the routine most people stick with because it’s quick and doesn’t require crawling around. Adjust the cleaner strength based on the grime level.
Step 1: Clear the edge, just enough
Scoot small items a few inches away from the wall so the tool head can run straight. If furniture is heavy, don’t overthink it, clean what you can reach and circle back on a deeper-clean day.
Step 2: Vacuum or dry dust from standing height
Run a soft-brush vacuum attachment along the top edge and corners, or use a dry microfiber pad on a flat mop. This keeps grit from acting like sandpaper when you go damp.
Step 3: Lightly damp clean (don’t soak)
Spray cleaner onto the pad, not directly onto the baseboard, especially if you have wood floors or gaps. Then glide the mop head along the trim using gentle, even pressure.
- For most homes: warm water plus a small amount of mild dish soap often does the job.
- For sticky film: a slightly stronger diluted all-purpose cleaner can help, but test first.
Step 4: Spot-treat scuffs without scrubbing paint off
For scuffs, a damp microfiber with a tiny amount of mild cleaner is usually enough. If you reach for a melamine sponge, use a very light touch, it works by abrasion and can dull glossy finishes.
Step 5: Quick dry pass
Do one final pass with a dry pad so moisture doesn’t sit on paint seams, and so you don’t leave streaks that catch light later.
Cleaner choices that usually play well with baseboards (plus what to avoid)
Paint type, sheen, and age matter, so there isn’t one “universal” cleaner. Still, some options tend to be safer for routine use.
| Situation | What to try | What to avoid (often) |
|---|---|---|
| Routine dust + light smudges | Warm water, microfiber; optional drop of dish soap | Strong degreasers, heavy scrubbing |
| Kitchen-adjacent grime | Diluted all-purpose cleaner, sprayed on pad | Undiluted cleaners that can haze paint |
| Scuff marks | Damp microfiber; light melamine sponge test | Abrasive powders, stiff scrub brushes |
| Allergy-sensitive household | Vacuum first, then damp microfiber to trap residue | Dry dusting that sends particles airborne |
According to the U.S. Environmental Protection Agency (EPA), it’s smart to reduce exposure to harsh cleaning chemicals and follow label directions, including ventilation and safe storage.
Tricks for tight spots (behind doors, around vents, and stairs)
These are the spots that make people give up and go back to kneeling. You can still stay upright, but you may need smaller tools.
- Behind doors: use a bendable duster head or a smaller microfiber pad clipped to a handheld gripper tool.
- Heat registers and corners: vacuum with a crevice tool first, then wipe with a narrow microfiber cloth wrapped around a ruler or paint stir stick.
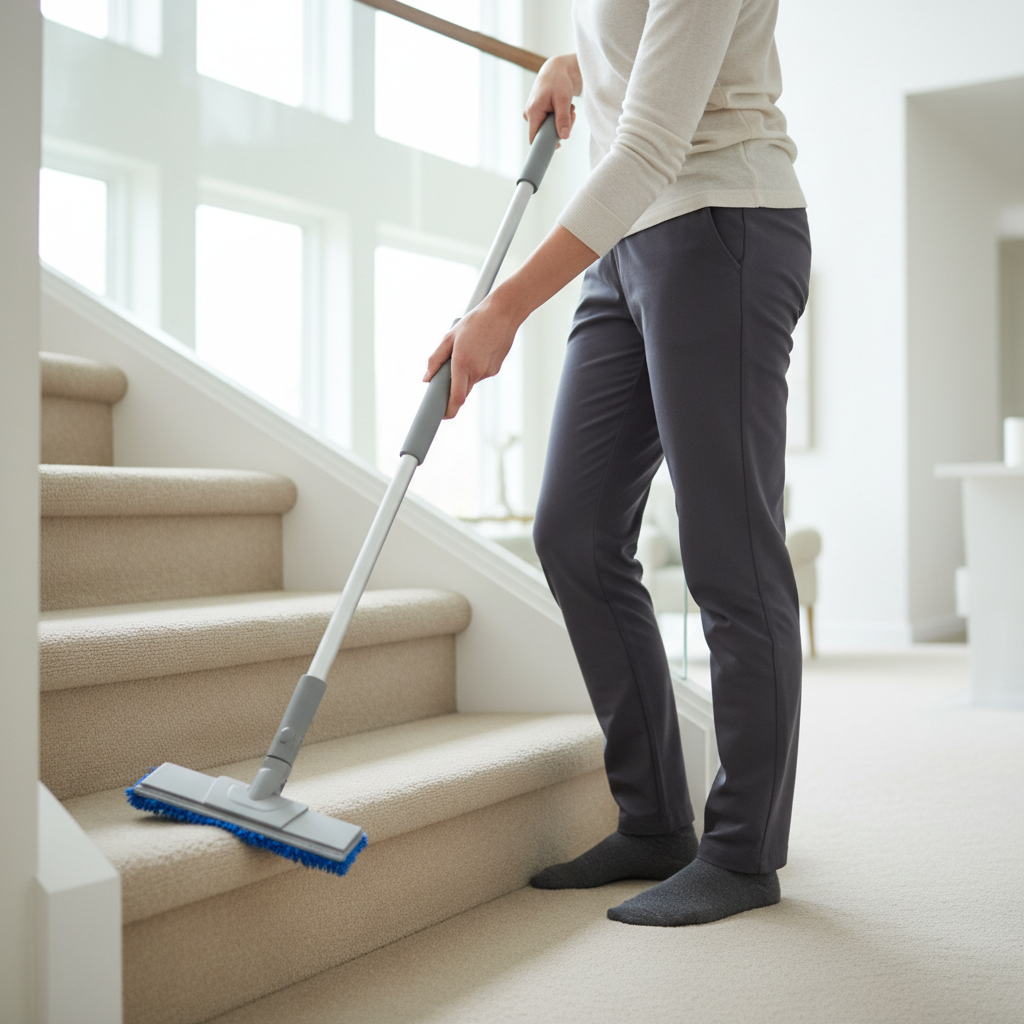
- Stairs: work one side at a time with a short, controlled stroke, and keep a hand on the railing for balance.
If you’re dealing with old caulk lines that look dark, that may be staining or separation, not dirt. Cleaning helps, but recaulking might be the real fix.
Common mistakes that waste time (or make baseboards look worse)
- Skipping dry removal: wet cleaning over dust can create muddy streaks that cling to textured paint.
- Over-wetting: water can seep into seams, swell MDF, or leave marks on nearby flooring.
- Using abrasive tools by default: magic erasers and scrub pads can change sheen, which shows up as “clean patches.”
- Cleaning only the front face: the top edge collects the most dust, especially if air flows across the room.
- Expecting one pass to fix years of buildup: heavy grime often takes two gentle rounds rather than one aggressive scrub.
When it’s worth calling in help (or switching tactics)
If you’re cleaning baseboards without bending down because of back, knee, or balance issues, your safety matters more than perfect trim lines. Consider asking for help if reaching corners means twisting or losing stability.
It may also be time for a pro deep clean if grime is thick, there’s visible mold-like spotting, or paint looks chalky and wipes off onto your cloth. In those cases, a cleaning company or a qualified contractor can help you avoid damaging finishes, and if you suspect mold, it’s reasonable to consult a remediation professional for guidance.
Conclusion: keep it standing, keep it simple
Once you have a flat microfiber tool and a repeatable routine, how to clean baseboards without bending down stops being a dreaded chore and becomes a quick “closing task” you can do room by room.
If you want an easy starting point, do a dry pass with a microfiber mop today, then a light damp pass in high-traffic rooms this weekend, you’ll notice the difference without paying for it in sore knees.
Key takeaways: vacuum or dry dust first, keep moisture low, spot-treat scuffs gently, and don’t be afraid to spread the work across a few days.