
Best budget kitchen backsplash ideas usually come down to two things: picking a material that forgives imperfect walls, and choosing an install method you can actually finish on a weeknight.
A backsplash is one of those small surfaces that pulls a kitchen together, but it also sits in the “splash zone” where grease, steam, and scrubbing happen, so cheap and easy only works if it also cleans well.
This guide focuses on realistic, budget-friendly options you can buy in the U.S., what they cost, where they tend to fail, and how to install them cleanly without turning it into a full remodel.
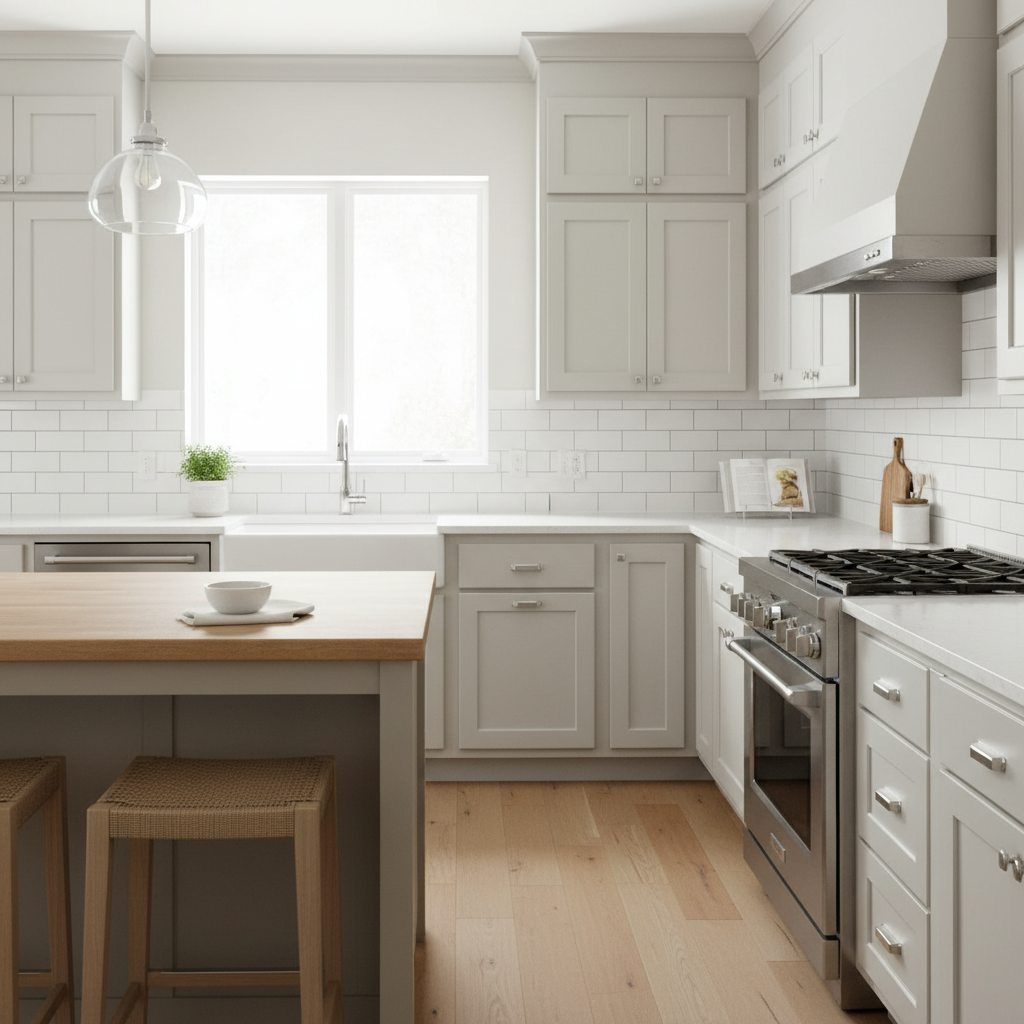
What “budget” really means for a kitchen backsplash
For most homeowners, budget is less about the cheapest sticker price and more about total cost, materials, tools, trim pieces, and the “oops” factor when a sheet goes on crooked.
- Material cost: tile, panels, adhesive, grout, sealer, edge trim.
- Tool cost: a snap cutter or wet saw rental can change the math fast.
- Time cost: peel-and-stick can be a true afternoon job, while real tile often becomes a weekend project.
- Risk cost: some options look great for 6 months, then edges lift near the stove or sink.
If your goal is resale polish, tile and certain panels tend to read “permanent.” If your goal is a quick visual upgrade for a rental or a temporary refresh, removable options can make more sense.
Best budget kitchen backsplash ideas (and where each works best)
Below are best budget kitchen backsplash ideas that generally install without specialized skills, with a quick note on the spot where each one tends to shine.
Peel-and-stick tile (PVC or vinyl)
Great for fast makeovers and rentals. The best versions have thicker gel or composite layers, they look less “sticker-ish” in person, and they hide small wall flaws.
- Best for: low-to-moderate splash areas, apartments, quick updates.
- Watch out for: heat near ranges, steam, textured walls, weak seams at corners.
Peel-and-stick metal or faux metal sheets
These can look surprisingly sharp in modern kitchens, especially in brushed finishes. They also wipe clean easily.
- Best for: behind coffee bars, dry prep zones, accent strips.
- Watch out for: dents, sharp edges when cutting, and adhesive failure if the wall has dust or grease.
Beadboard or shiplap-style panels (painted)
Painted panels read “custom,” especially with a crisp semi-gloss. This is a classic DIY option when the wall is uneven and you want a clean plane.
- Best for: farmhouse/cottage looks, dry zones, budget refresh with paint control.
- Watch out for: water at the sink, swelling if seams are not sealed well.
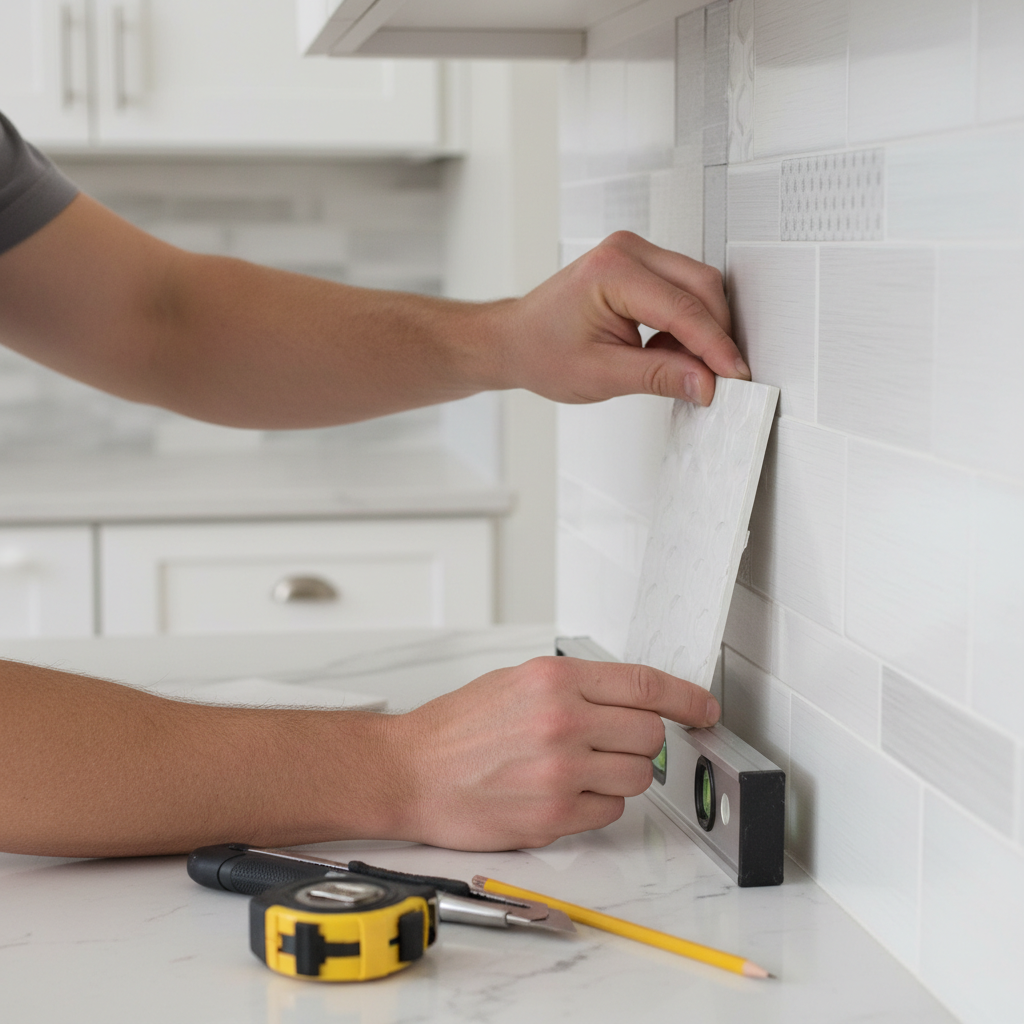
Budget ceramic subway tile (real tile, simple pattern)
Real tile remains the “it’s actually permanent” choice, and basic white or off-white ceramic is still widely available at approachable prices. The pattern matters as much as the tile, a straight stack is simpler, a classic offset is more forgiving.
- Best for: behind stoves and sinks, long-term homes, resale-friendly updates.
- Watch out for: cutting around outlets, grout haze if cleanup is rushed.
Vinyl backsplash panels or wall panels (large sheets)
Sheets reduce grout lines to almost none, which is why some people love them. They are also fast to clean, and fewer seams means fewer failure points.
- Best for: long runs, minimal look, people who hate grout maintenance.
- Watch out for: visible seams if cuts are sloppy, corners needing trim.
Painted backsplash area (with washable paint)
This is the true shoestring option, but it works best when the “splash” is light. Many kitchens need more protection behind the sink and range, so paint alone can be a partial solution, not a universal one.
- Best for: low-splash areas, temporary refresh, tight budgets.
- Watch out for: staining, moisture wear, frequent touch-ups.
Quick comparison table: cost, difficulty, durability
Prices vary by brand and region, but this table helps you choose based on how your kitchen actually gets used.
| Option | Typical DIY difficulty | Durability near heat/water | Best use-case |
|---|---|---|---|
| Peel-and-stick PVC/vinyl tile | Low | Medium (can fail near high heat) | Fast update, rentals, low splash zones |
| Peel-and-stick metal look | Low to medium | Medium | Accent areas, coffee bar, modern look |
| Beadboard/shiplap panel (painted) | Medium | Low to medium | Farmhouse style, uneven walls, dry zones |
| Ceramic subway tile + grout | Medium to high | High | Stove/sink walls, long-term durability |
| Large backsplash wall panels | Medium | Medium to high | Low-grout look, easy cleaning |
| Washable paint only | Low | Low | Ultra-budget, low splash areas |
Self-check: pick the right backsplash by your kitchen habits
If you want best budget kitchen backsplash ideas that don’t turn into a redo, match the material to your reality, not to an Instagram photo.
- Do you cook with high heat often? If yes, be cautious with peel-and-stick directly behind the range.
- Is your wall textured or uneven? Peel-and-stick may telegraph bumps, panels can hide them better, tile needs a flatter surface.
- How patient are you with detail work? Outlets, corners, and end caps take longer than the main field.
- Do you hate cleaning grout? Consider panels or larger-format looks, or pick a grout color that hides cooking life.
- Are you in a rental? Favor removable products, and test a small section for paint damage risk.
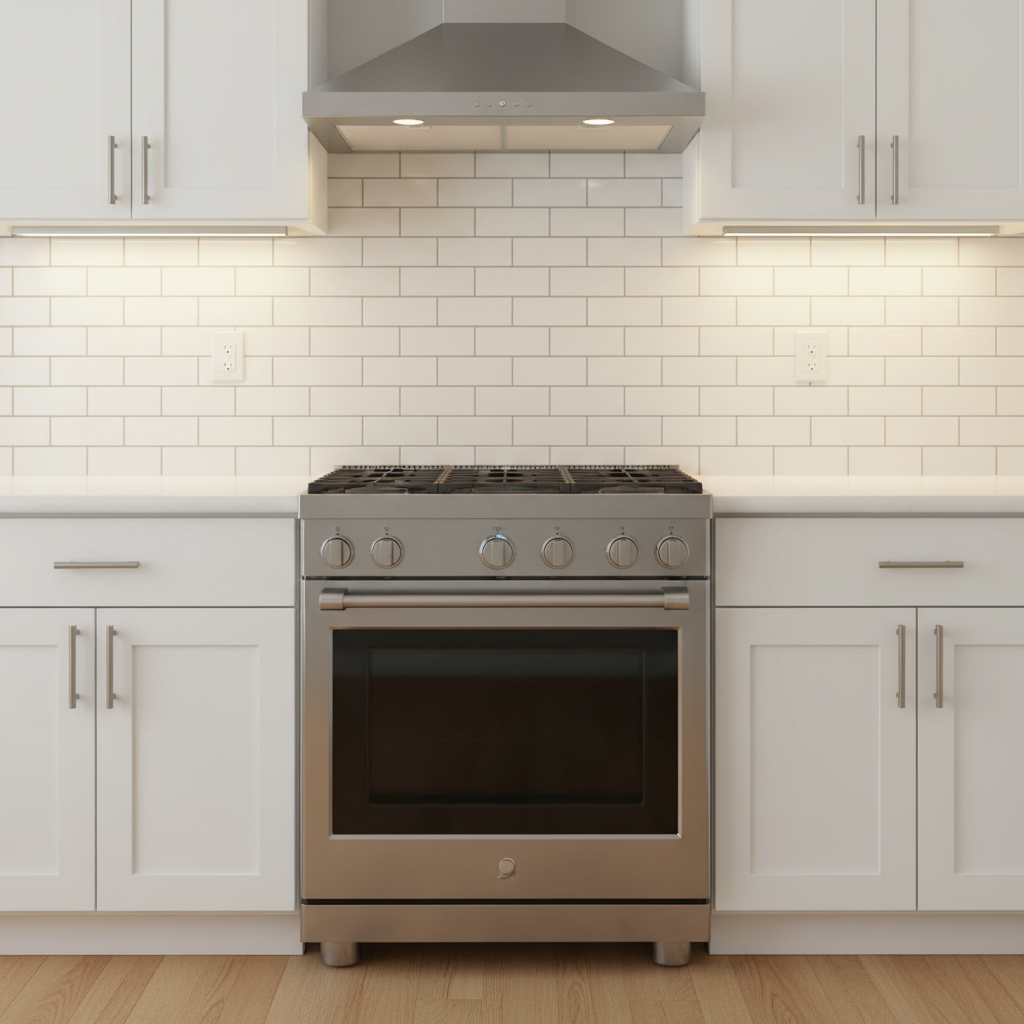
Easy install steps that prevent the most common failures
The install is where budget projects usually go sideways. Most problems trace back to prep, not the product.
1) Clean like adhesion depends on it, because it does
Degrease the wall near the range and wipe again with clean water, let it dry fully. If you are unsure which cleaner is safe for your paint, test a small patch. Adhesives hate dust and cooking oil.
2) Make the wall “flat enough”
Fill big divots, sand high ridges, and remove loose paint. Peel-and-stick over heavy orange peel texture often looks fine at a glance, then seams show later. Tile usually demands the flattest surface.
3) Plan the layout around outlets and focal points
Center a strong pattern behind the sink or stove, then work outward. Dry-fit a row first, especially with sheets. A tiny misalignment grows by the time you hit the corner.
4) Use the right adhesive method for the material
- Peel-and-stick: firm pressure across the full sheet, focus on edges, use a small roller if you have one.
- Panels: follow manufacturer adhesive guidance, some need construction adhesive, some prefer double-sided tape plus caulked seams.
- Real tile: use thinset or mastic as recommended for backsplash areas, then grout after proper set time.
5) Seal edges and seams where water lives
A thin bead of kitchen/bath caulk at the countertop seam and corners prevents water intrusion. According to the U.S. Environmental Protection Agency (EPA), indoor moisture control helps reduce mold growth, so sealing water entry points is a practical habit, not just a cosmetic detail.
Mistakes that waste money fast (and what to do instead)
- Installing over dusty, satin-greasy paint: wash and dry, then consider a light scuff sand for better bite.
- Putting peel-and-stick too close to high heat: many brands specify clearance guidelines, follow them, and consider a different material behind the range.
- Skipping outlet extenders: tile thickness can recess outlets, which can be a safety issue, using extenders is a small cost with big payoff.
- Choosing bright white grout in a heavy-cook kitchen: it can look amazing, but many households prefer light gray or warm gray for sanity.
- Rushing cuts: measure twice, cut once sounds corny, but corners and outlet boxes punish sloppy work.
When it’s worth calling a pro
DIY is realistic for many backsplashes, but a few situations deserve a pause.
- Old wiring or crumbling outlet boxes: an electrician can make this safe and code-compliant, which matters more than a weekend timeline.
- Serious wall damage or suspected moisture issues: if the drywall is soft or stained, fixing the cause comes first, a contractor may be appropriate.
- Natural stone, glass mosaic, or complex patterns: cuts and setting can get technical, and mistakes become expensive quickly.
If you feel uncertain about heat clearance, outlet safety, or moisture behind the wall, it’s reasonable to consult a licensed professional. That cost can be lower than redoing the entire backsplash.
Key takeaways for a good-looking backsplash on a tight budget
- Prep beats product, clean, dry, and reasonably flat surfaces make budget materials look higher-end.
- Match the option to the zone, the stove and sink deserve more durable choices than a coffee nook.
- Design simple reads expensive, a clean subway layout and tidy edges often win over flashy patterns.
If you want a quick win, pick one of the more forgiving best budget kitchen backsplash ideas, plan around outlets, and spend extra care on edges and caulk lines, that’s where “DIY” usually shows.
FAQ
- What is the cheapest backsplash that still looks good?
Paint can be cheapest, but it rarely performs well in high-splash areas. Many homeowners find peel-and-stick tile or basic ceramic subway tile hits the better balance of looks and practicality. - Does peel-and-stick backsplash work behind a stove?
Sometimes, but it depends on the product’s heat rating and your cooking style. Many situations near high heat are better served by real tile or a heat-safe panel, check the manufacturer guidance and keep clearance in mind. - Can I install a backsplash over textured walls?
You can, but texture can telegraph through thin materials and reduce adhesion. Skim-coating, sanding high spots, or using thicker panels often gives a cleaner result. - Do I need to remove the old backsplash first?
Usually yes if it is loose, greasy, or uneven. If the existing surface is firmly attached and flat, some panels may go over it, but confirm the new product’s install instructions before committing. - What grout color looks clean but hides stains?
Light gray and warm gray are common “real life” picks because they stay tidy-looking longer. Bright white grout can work, it just asks for more maintenance in many kitchens. - How do I cut backsplash tile without a wet saw?
For simple ceramic subway tile, a manual snap cutter often works. For glass, stone, or tricky cuts, a wet saw rental may be safer and cleaner, and in some cases a pro saves money overall. - How long should I wait before cleaning a new backsplash?
Peel-and-stick can usually handle gentle wiping soon, while tile and grout need curing time. Follow the adhesive and grout manufacturer directions, because products vary.
If you’re choosing between a couple of materials and want the most “finished” look for your time, start by measuring your splash zones and listing your constraints, heat, water, wall texture, then pick the simplest option that fits, that mindset usually leads to fewer redo weekends.